The Complete Guide to Selecting and Installing Hair Extensions – Everything you need for a Seamless Look
In the realm of beauty and self-expression, hair extensions have emerged as a game-changer, offering both versatility and the allure of instant length or volume. Whether you’re eyeing a glamorous transformation for a special occasion or simply craving a change, mastering the art of installing hair extensions can elevate your hair game to new heights. Here’s a comprehensive, millennial-approved guide to help you navigate the process like a pro.
Choosing the right Extensions for you
First things first, selecting the right type of hair extensions is crucial. The market is flooded with options—clip-ins for temporary flair, tape-ins for a more semi-permanent solution, and sew-ins for those seeking longevity. Each type has its unique set of benefits and installation techniques. Equally as important is matching the extensions to your natural hair, for this we need to look at the colour and texture.
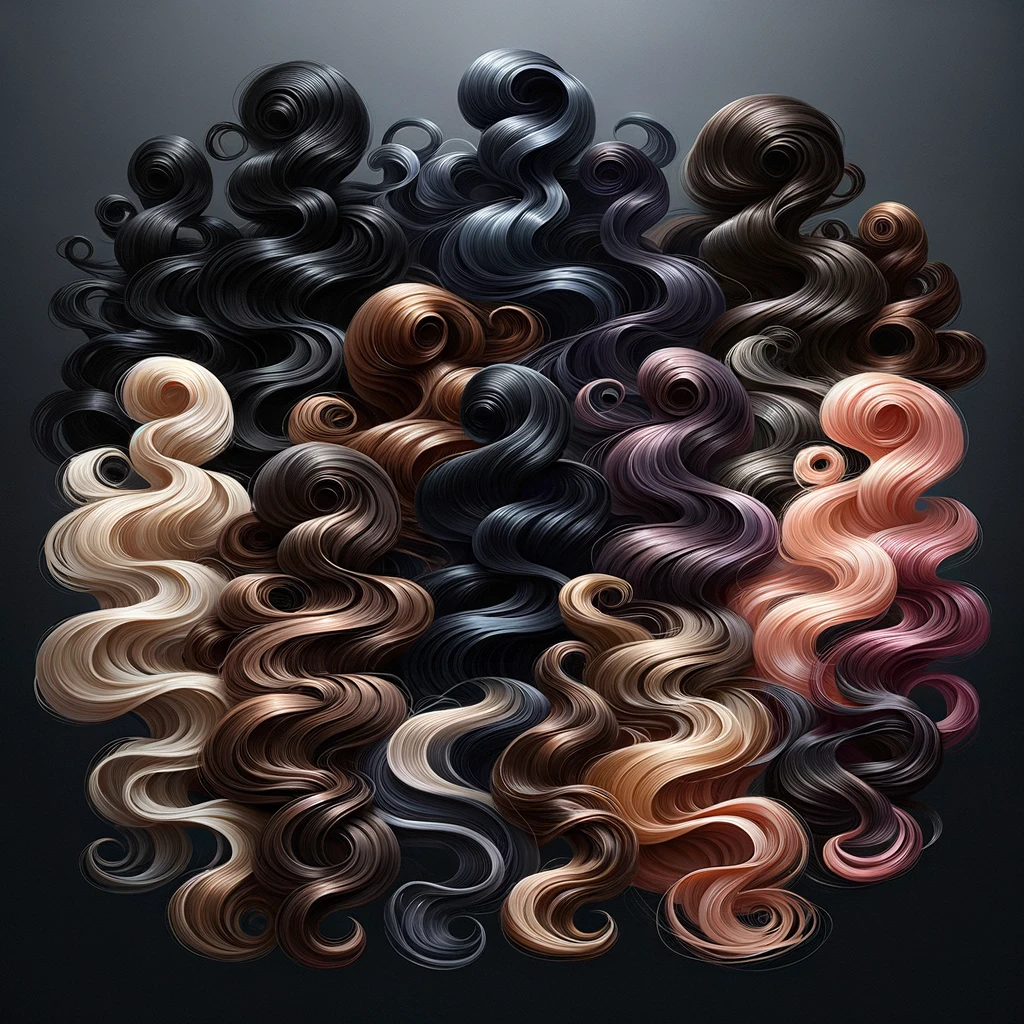
Let’s talk about Colour!
Assess Your Natural Hair colour in Different Lighting: Natural hair is complicated! To get the best match observe your hair in various lighting conditions to capture the full spectrum of tones it exhibits. Sunlight reveals the truest colour, so it’s the best lighting to assess your hair.
Choose Multi-Tonal Extensions: Look for extensions that feature a blend of shades rather than a single, solid colour. This mimics the natural variation in your hair, creating a more dynamic and convincing blend. Many brands offer extensions with highlights or lowlights to better match the depth and dimension of natural hair.
Custom colour Matching: For an exact match, consider custom-dyed extensions. Some salons offer this service, tailoring the colour of the extensions to your unique shade. This is particularly useful for those with unique or hard-to-match hair colours.
Perfecting your Texture Match
Identify Your Hair Texture: Hair texture ranges from straight to curly, with several nuances in between. Examine your hair to determine its texture category: is it fine, medium, or coarse? Is it straight, wavy, curly, or kinky? The goal is to match the extensions to your hair’s natural texture for a seamless blend.
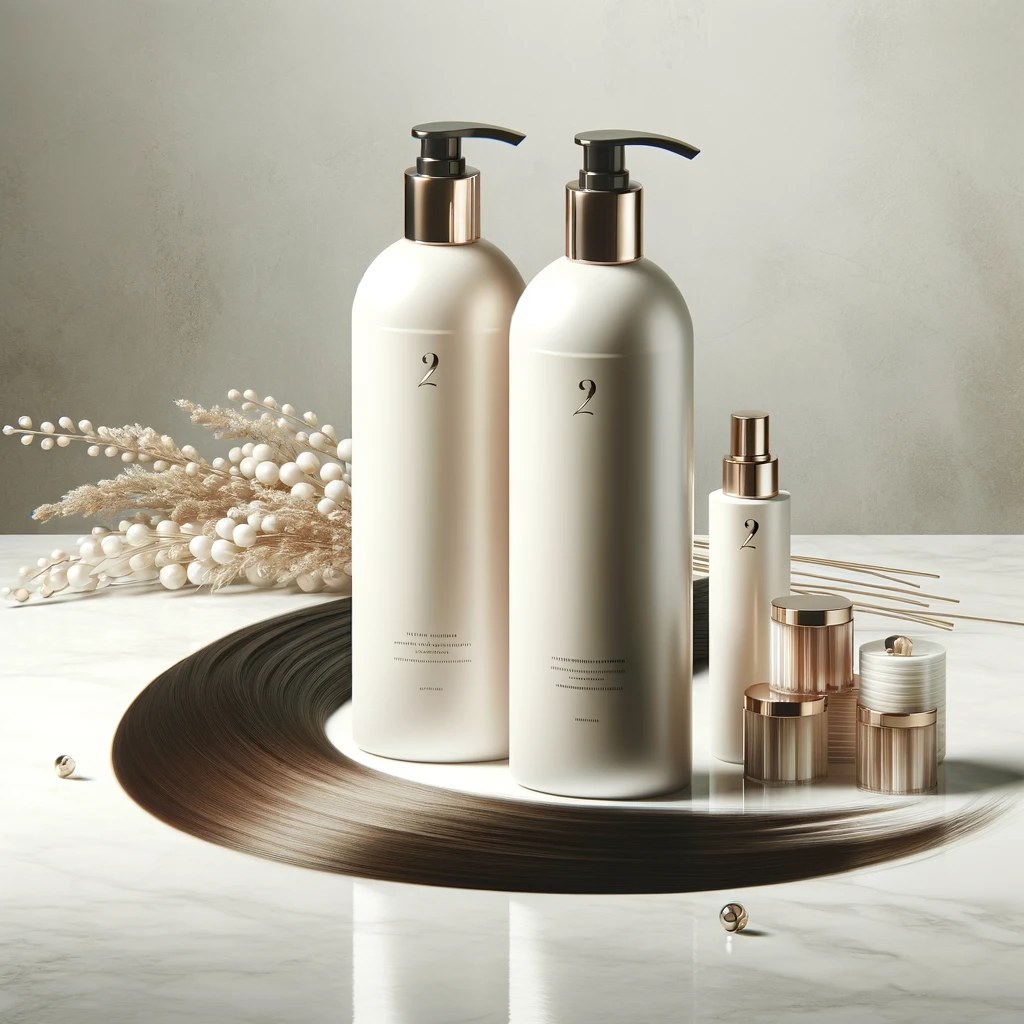
High-Quality Extensions for Natural Appearance: Invest in high-quality extensions that mimic the look and feel of natural hair. Remy human hair extensions are a top choice for their quality and ability to blend with natural hair textures. They can also be styled (curled or straightened) to further match your hair’s texture.
Mixing Textures for a Perfect Blend: If your hair doesn’t fit neatly into one texture category, consider mixing textures. For example, if your hair is mostly straight but has a slight wave, mix straight and wavy extensions to replicate your natural texture diversity.
Now that we’ve covered selecting your perfect extensions, it’s time to talk about putting them in (installing).
Prepare Your Natural Hair
Before the installation, ensure your hair is clean, dry, and free from any products that might reduce the grip of your extensions. For sew-ins and tape-ins, consider visiting a stylist to have your hair properly prepped and sectioned. For clip-ins, a gentle brush to remove any tangles will suffice.
Creating precise sections is key to a flawless finish. Use a tail comb to divide your hair into manageable sections, starting from the bottom and working your way up. Secure each section with clips, leaving the lower section down for the first set of extensions.
The Installation Process
Clip-In Extensions
• Clip-in extensions offer the most user-friendly approach, ideal for those seeking a temporary change or the flexibility to switch up their look.
• Sectioning Your Hair: Begin by sectioning your hair horizontally, starting from the bottom of your scalp. Use a tail comb to create a straight line and clip up the rest of your hair.
• Preparing the Weft: Select the weft that best fits the section. Ensure the clips are fully open before application.
• Placement: Align the weft with the roots of the sectioned hair, ensuring it’s close but not too tight to the scalp. This prevents discomfort and potential damage to your natural hair.
• Securing the Clips: Gently press down on the clips to snap them shut. Check each clip to ensure it’s securely fastened and the weft lies flat against your head.
• Repeat: Move up your head, section by section, repeating the process. Place each weft strategically to achieve a balanced and natural blend with your hair.• Blending: Once all wefts are in place, gently brush through your hair to blend the extensions seamlessly with your natural hair.
Tape-In Extensions
• Tape-in extensions require precision and patience, often necessitating professional help for optimal placement and bonding.
• Sectioning for Placement: Work with thin, horizontal sections of hair, starting from the bottom. The sections should be small enough to allow the tape to adhere without weighing down your natural hair.
• Preparing the Tape: Peel the backing off the tape to reveal the adhesive side. Position the tape underneath the selected section of hair, approximately a quarter inch from the root to avoid contact with the scalp.
• Application: Place the thin strand of hair between two tape wefts, effectively “sandwiching” your natural hair. This ensures a strong bond and a flat, unobtrusive appearance.
• Pressing for Security: Once in place, press firmly on the tape for a few seconds to secure the bond. Avoid using any styling tools or washing your hair for at least 48 hours to allow the adhesive to set properly.
• Maintenance: Tape-ins require regular maintenance to ensure the adhesive remains secure. Professional reapplication every 6-8 weeks is recommended to adjust for hair growth and to maintain the integrity of the extensions.
Sew-In Extensions
• Sew-in extensions are the most permanent option and involve braiding and sewing, demanding a skilled approach typically provided by a professional.
• Braiding the Foundation: The process begins by braiding your natural hair into cornrows that act as a base for the extensions. The pattern and direction of the cornrows can vary depending on the desired final look.
• Preparing the Weft: Measure and cut the weft to fit the section of the head where it will be applied. It’s crucial to ensure the weft is neither too tight nor too loose to maintain comfort and durability.
• Sewing the Weft: Using a curved sewing needle and thread, the weft is then sewn into the braids. The stitch should be tight and secure but not so tight that it causes tension on the scalp.
• Layering: Continue to sew in additional wefts, working from the bottom up, until the desired volume and length are achieved.
• Blending and Styling: After all wefts are securely in place, the hair can be cut, coloured, and styled to create a seamless blend with your natural hair.• Regardless of the method chosen, it’s essential to prioritise the health of your natural hair throughout the process. Proper installation, combined with regular maintenance and care, will ensure your hair extensions look stunning and last longer, allowing you to enjoy your transformed look with confidence and ease.
Blend and Style
Once all the extensions are in place, use a brush to gently blend them with your natural hair. Styling with a curling iron or straightener (make sure your extensions are heat-resistant!) can further integrate the extensions, giving you that flawless, dreamy look.
In Summary
Hair extensions, when done right, can transform your look and boost your confidence. Whether you’re a first-timer or a seasoned enthusiast, patience and practice will make the process smoother. Embrace the journey to becoming your most fabulous self—because at the end of the day, it’s all about feeling confident and empowered in your skin (and hair!).
Remember, while DIY installations are empowering, consulting with a professional stylist can provide personalised advice and ensure your extensions look natural and last longer. Now, armed with these tips, you’re ready to conquer the world of hair extensions!